Show the garment before the performance.
Make activewear images with visible seams, panels and proportions, then review them as product imagery rather than performance evidence.
Add your own product. Edit the starting direction. Review the quote before requesting one sample.
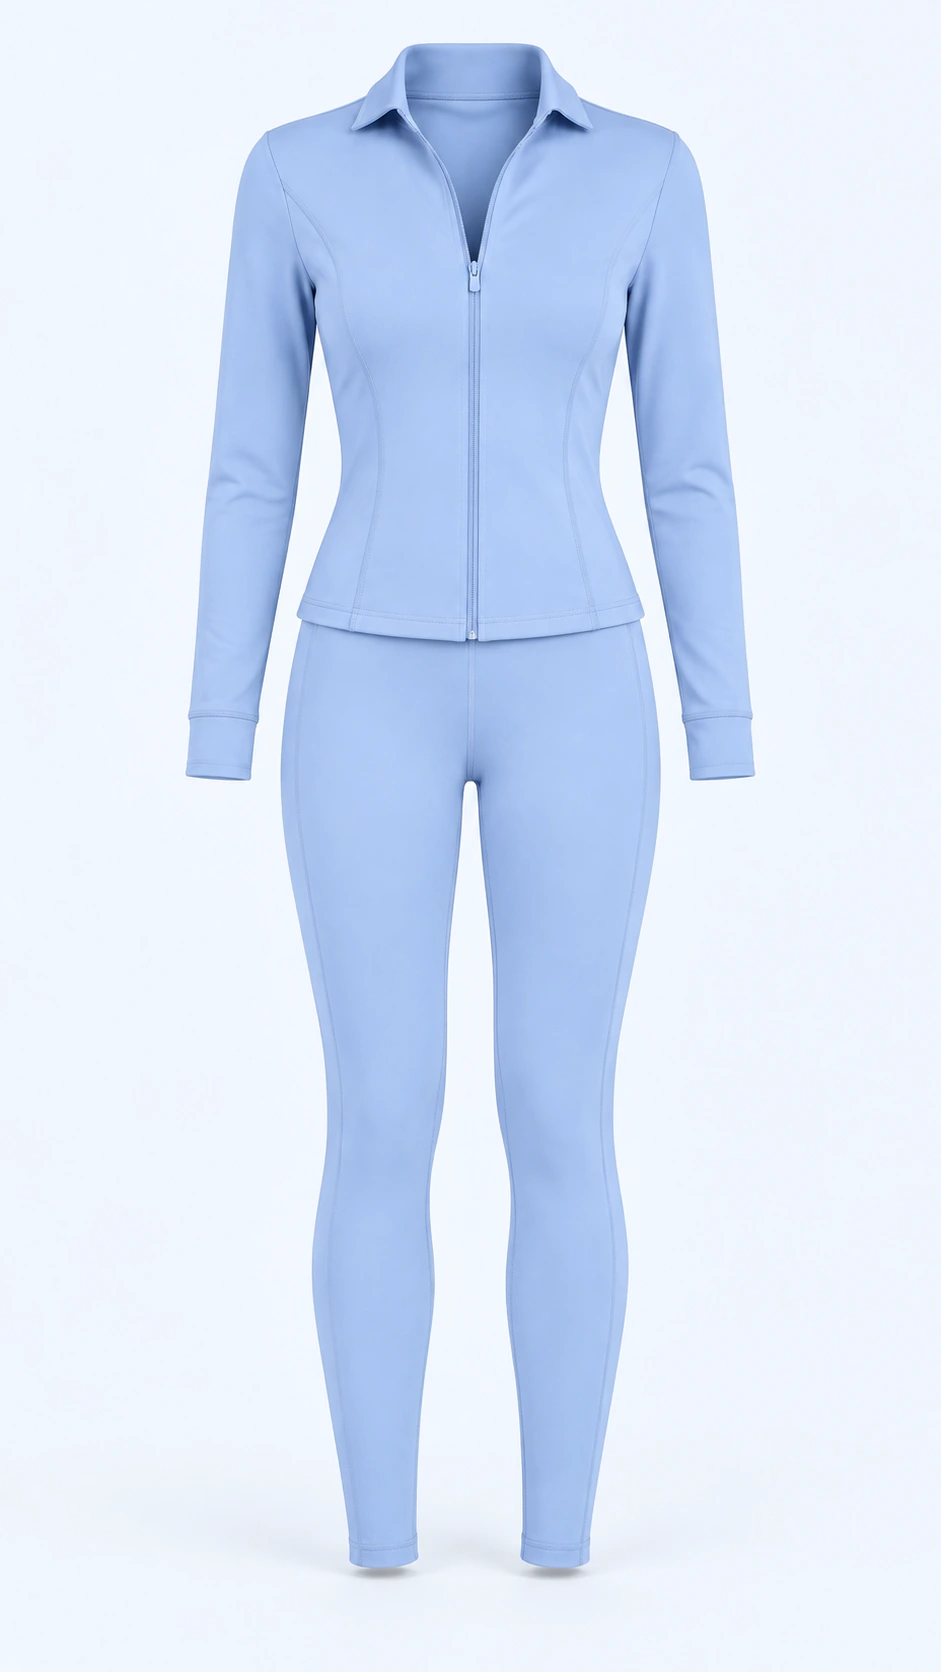
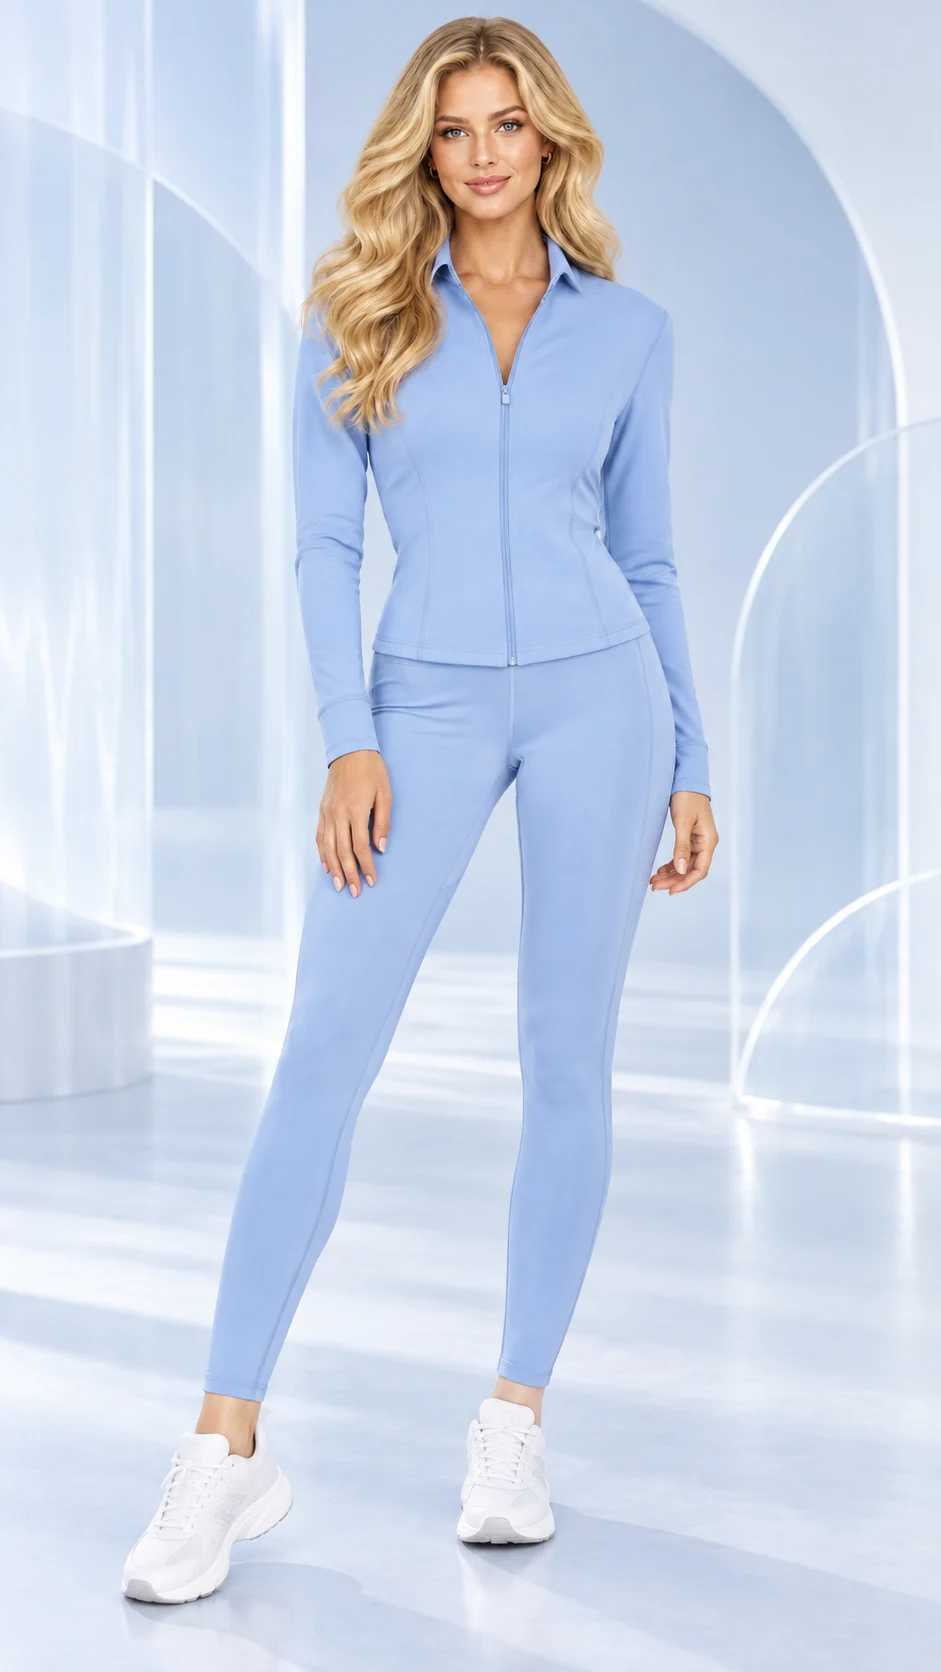
What to keep in the frame.
Use your original as the standard. These details deserve a separate pass before you approve the image.
- 01Panel seams and waistband construction
- 02Straps, openings and garment length
- 03Opacity and logo placement
The better starting point.
Start with a clear, unstrained garment view. Keep original photographs for claims about stretch, support, opacity and fit.
Have a public shop? Import your product ↗Photograph the supplied activewear on an adult model in a clean light-filled studio. Use a relaxed upright stance rather than extreme exercise. Show the full garment and all relevant seams, panels, straps and waistband. Preserve source opacity, shape and branding without invented performance features. Complete head-to-foot framing.Open this direction ↗
Activewear often looks simple until you inspect its seams, panels, waistband and openings. Those details affect product recognition even when the scene is about movement. Choose a clear input and describe the features that need to remain unchanged. Keep logos and printed marks visible enough to check rather than treating them as background texture.
For the campaign set, keep the strongest accepted image and make targeted revisions to the rest. A consistent scene does not guarantee consistent garment detail. Check each product at full resolution and at the final placement size before using it alongside the original catalog photography.