Let the design explain itself.
Plan device photography around readable controls, complete edges and realistic surfaces, without inventing features.
Add your own product. Edit the starting direction. Review the quote before requesting one sample.
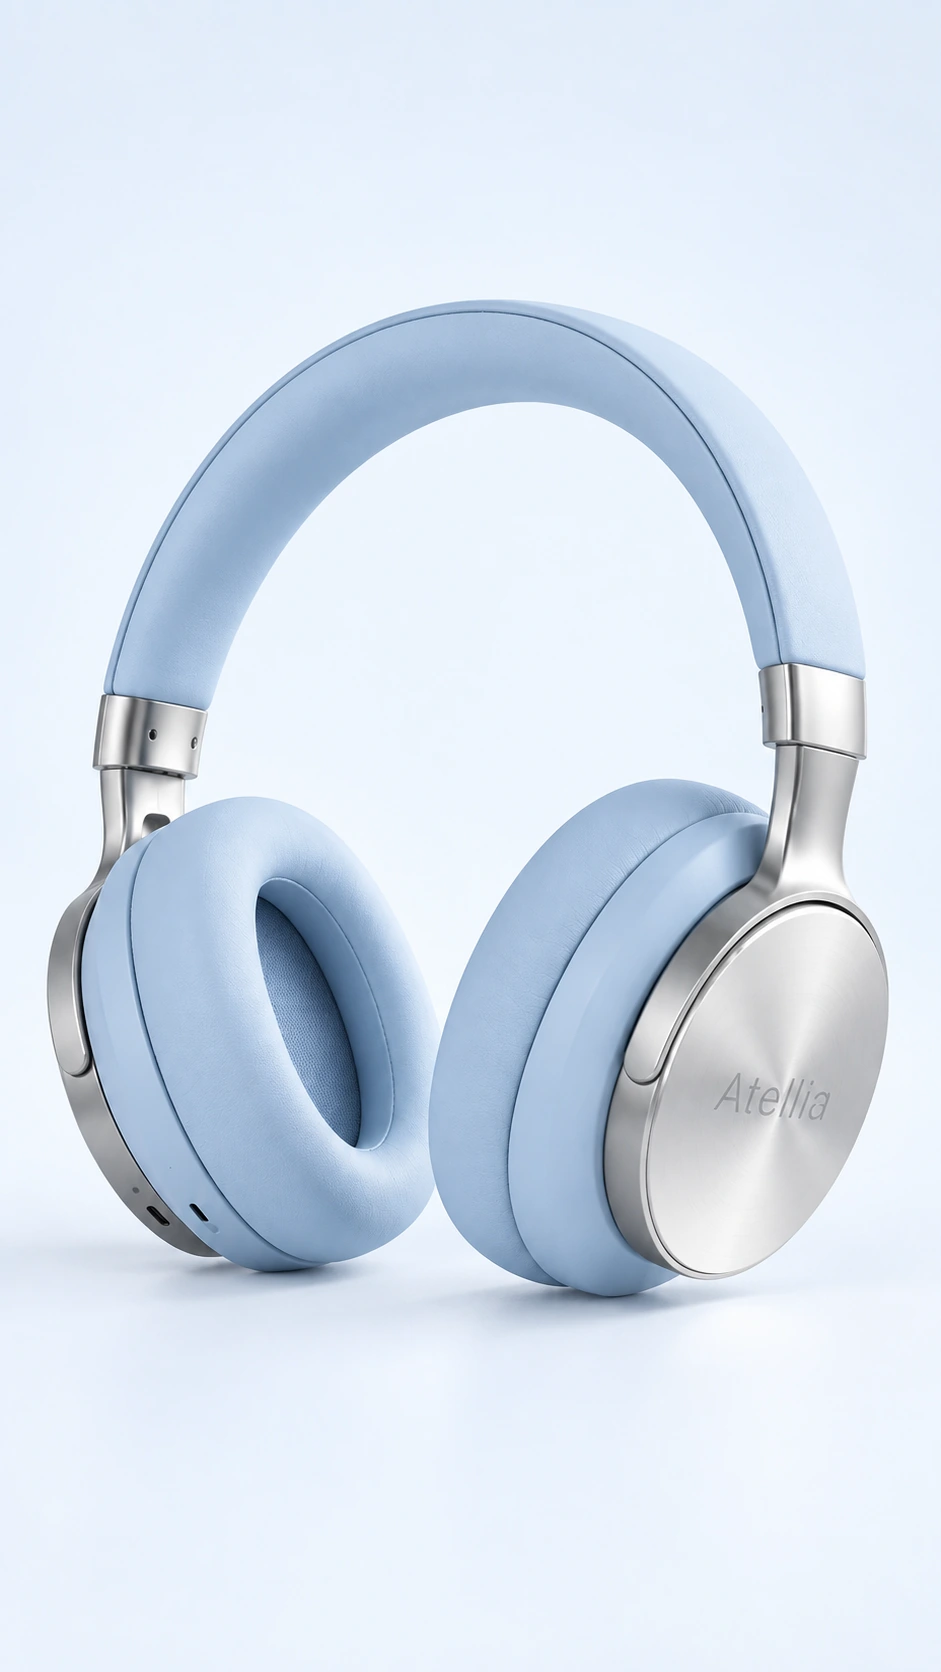
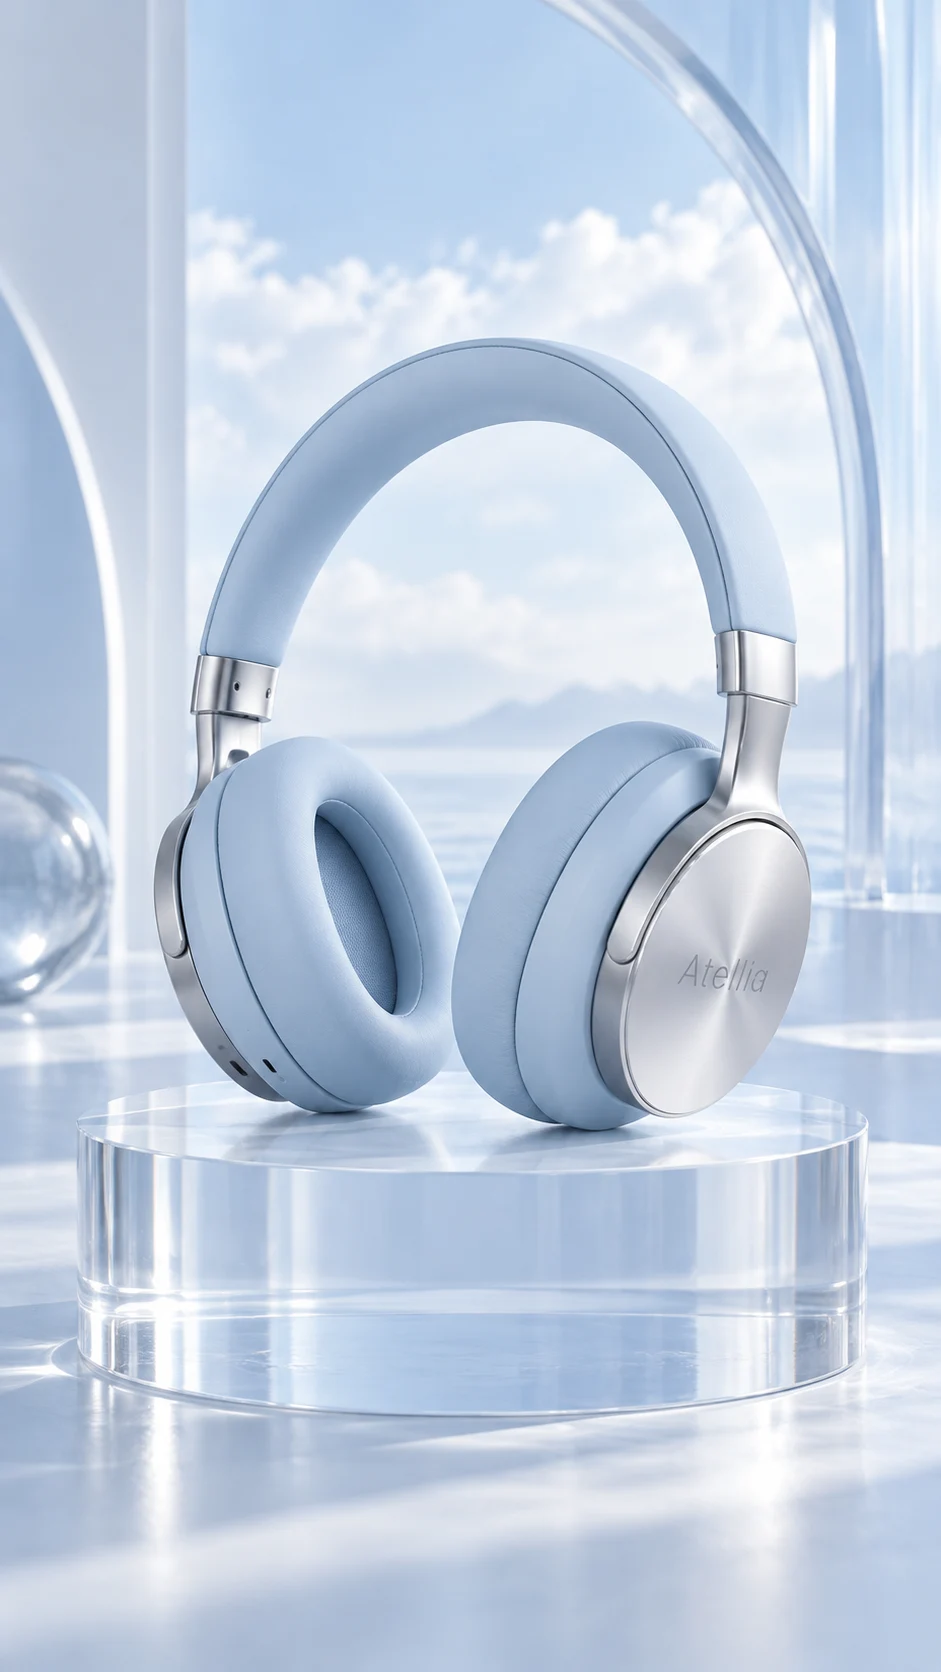
What to keep in the frame.
Use your original as the standard. These details deserve a separate pass before you approve the image.
- 01Buttons, ports and seams
- 02Screen content and indicator lights
- 03Cables, accessories and source count
The better starting point.
Use an input with the important controls visible. Keep a separate original for ports or labels that are hidden from the chosen camera angle.
Have a public shop? Import your product ↗Photograph the supplied electronic product at a front three-quarter angle against a clean neutral background. Preserve all controls, ports, seams, markings and screen appearance. Show the entire device without invented cables or interface content. Review priorities: Buttons, ports and seams; Screen content and indicator lights; Cables, accessories and source count.Open this direction ↗
A device can look persuasive even when a port, button or seam has moved. Choose a source that makes the controls relevant to the next image visible. A front three-quarter view can explain both the face and depth of the product, but it cannot establish details hidden on the back.
For a collection, maintain a common visual direction while reviewing each device independently. Similar silhouettes can make a changed button or port easy to overlook. Save accepted results, revise the specific items that need attention, and retain original assets for precise feature documentation and any customer-facing claims about functionality.