A point of view with the frame intact.
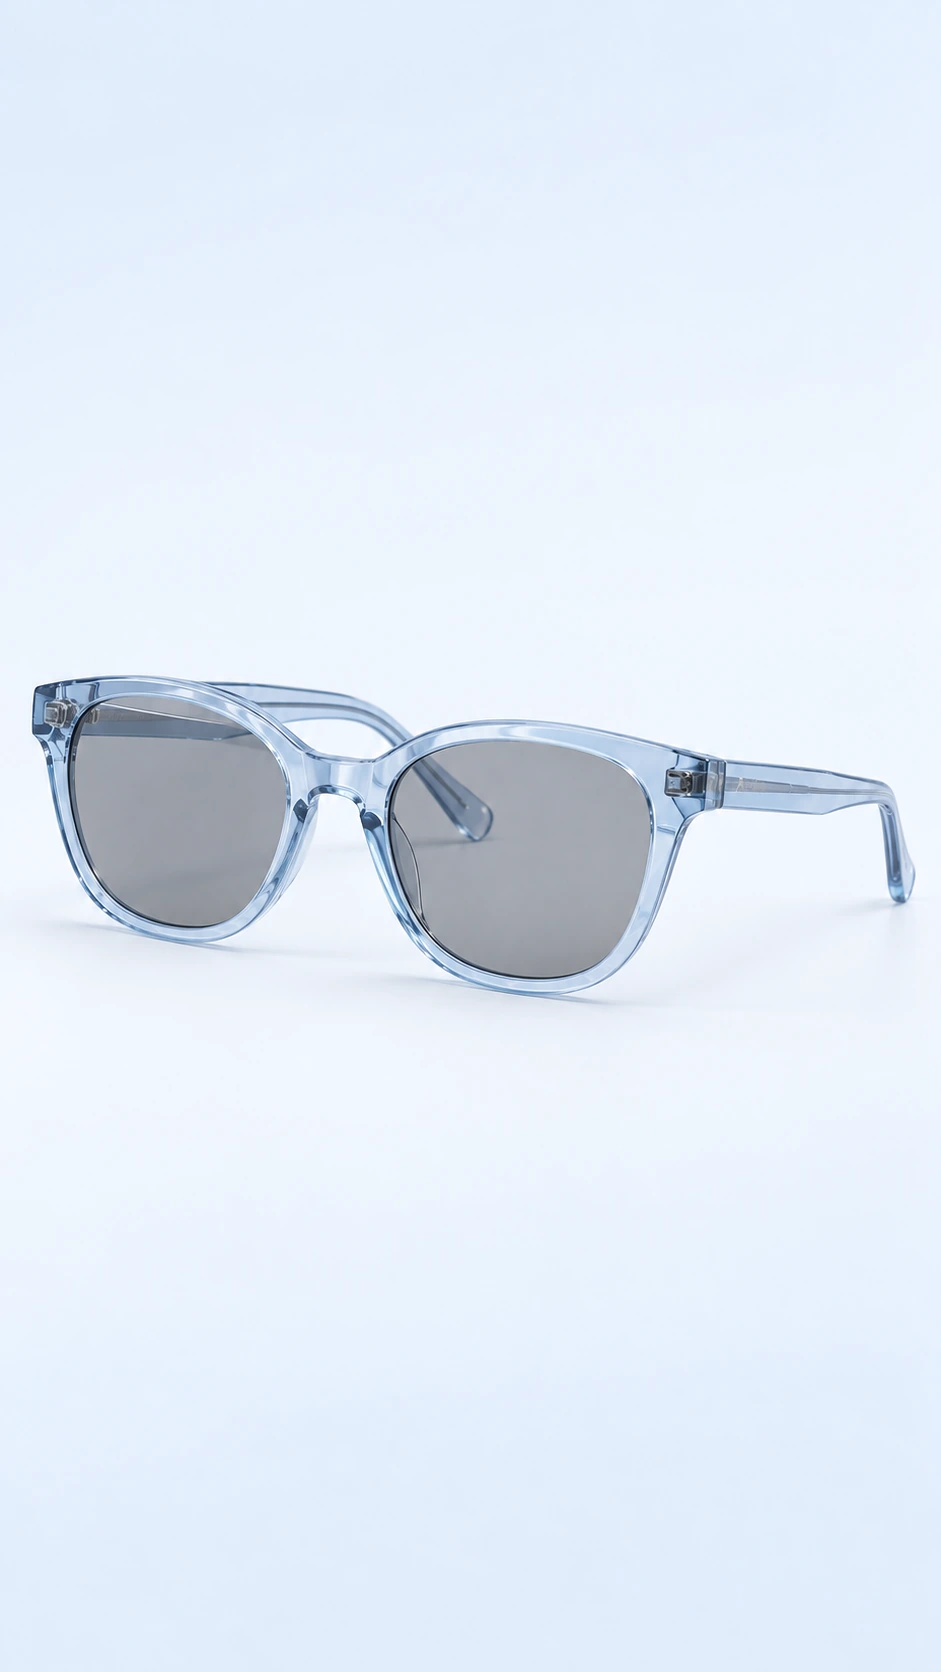
Build eyewear imagery around lens shape, bridge and temples, with explicit directions for optical lenses and sunglasses.
Add your own product. Edit the starting direction. Review the quote before requesting one sample.
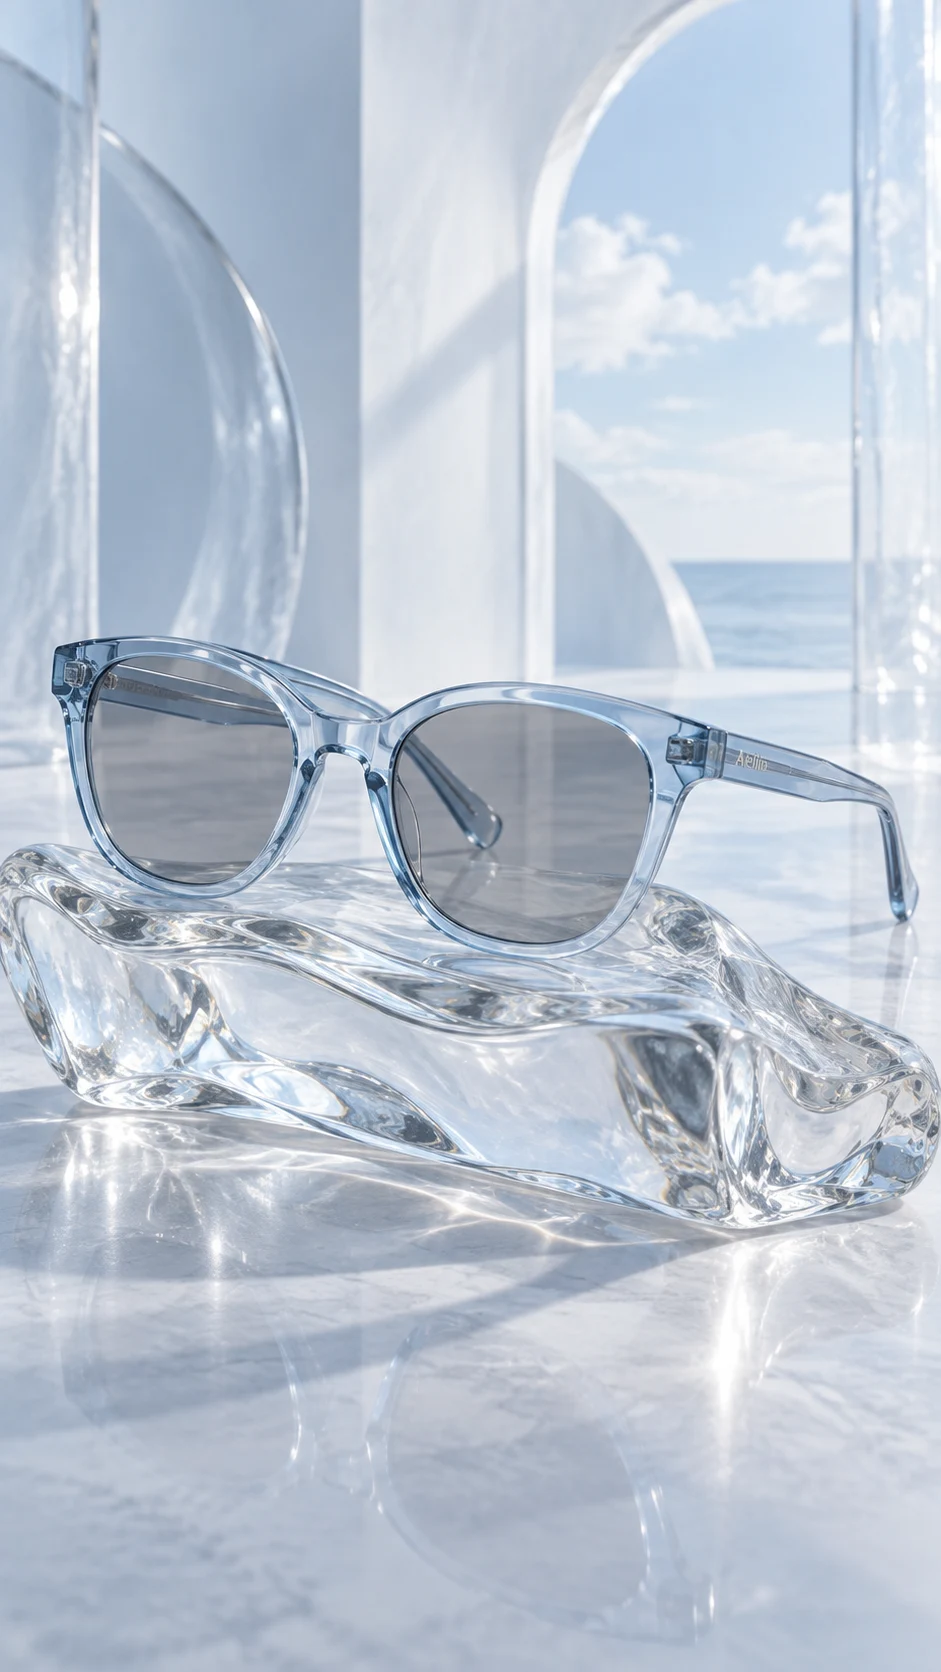
What to keep in the frame.
Use your original as the standard. These details deserve a separate pass before you approve the image.
- 01Frame geometry and bridge width
- 02Temples, hinges and alignment
- 03Optical transparency or source tint
The better starting point.
Choose an angle that shows the front and at least one temple. Make clear in the source whether the product has optical lenses or tinted sunglass lenses.
Have a public shop? Import your product ↗Photograph the supplied eyewear at a front three-quarter angle on a pale matte surface. Preserve the exact frame shape, bridge, hinges and temple design. If the source has clear optical lenses, keep them clear; do not turn optical glasses into sunglasses. Show the entire frame. Review priorities: Frame geometry and bridge width; Temples, hinges and alignment; Optical transparency or source tint.Open this direction ↗
Eyewear imagery can look convincing while changing the product from optical glasses into sunglasses. Make source lens transparency or tint an explicit priority. In this studio, eyewear directions use the existing Sunglasses accessory setting, so the scene also specifies that clear optical lenses must remain clear when that is what the reference shows.
Review the result at full resolution and in the final placement. The image does not validate prescription compatibility, lens protection or fit. Those remain product information questions. Once a sample is acceptable, reuse the direction carefully and inspect every frame shape independently across the collection.