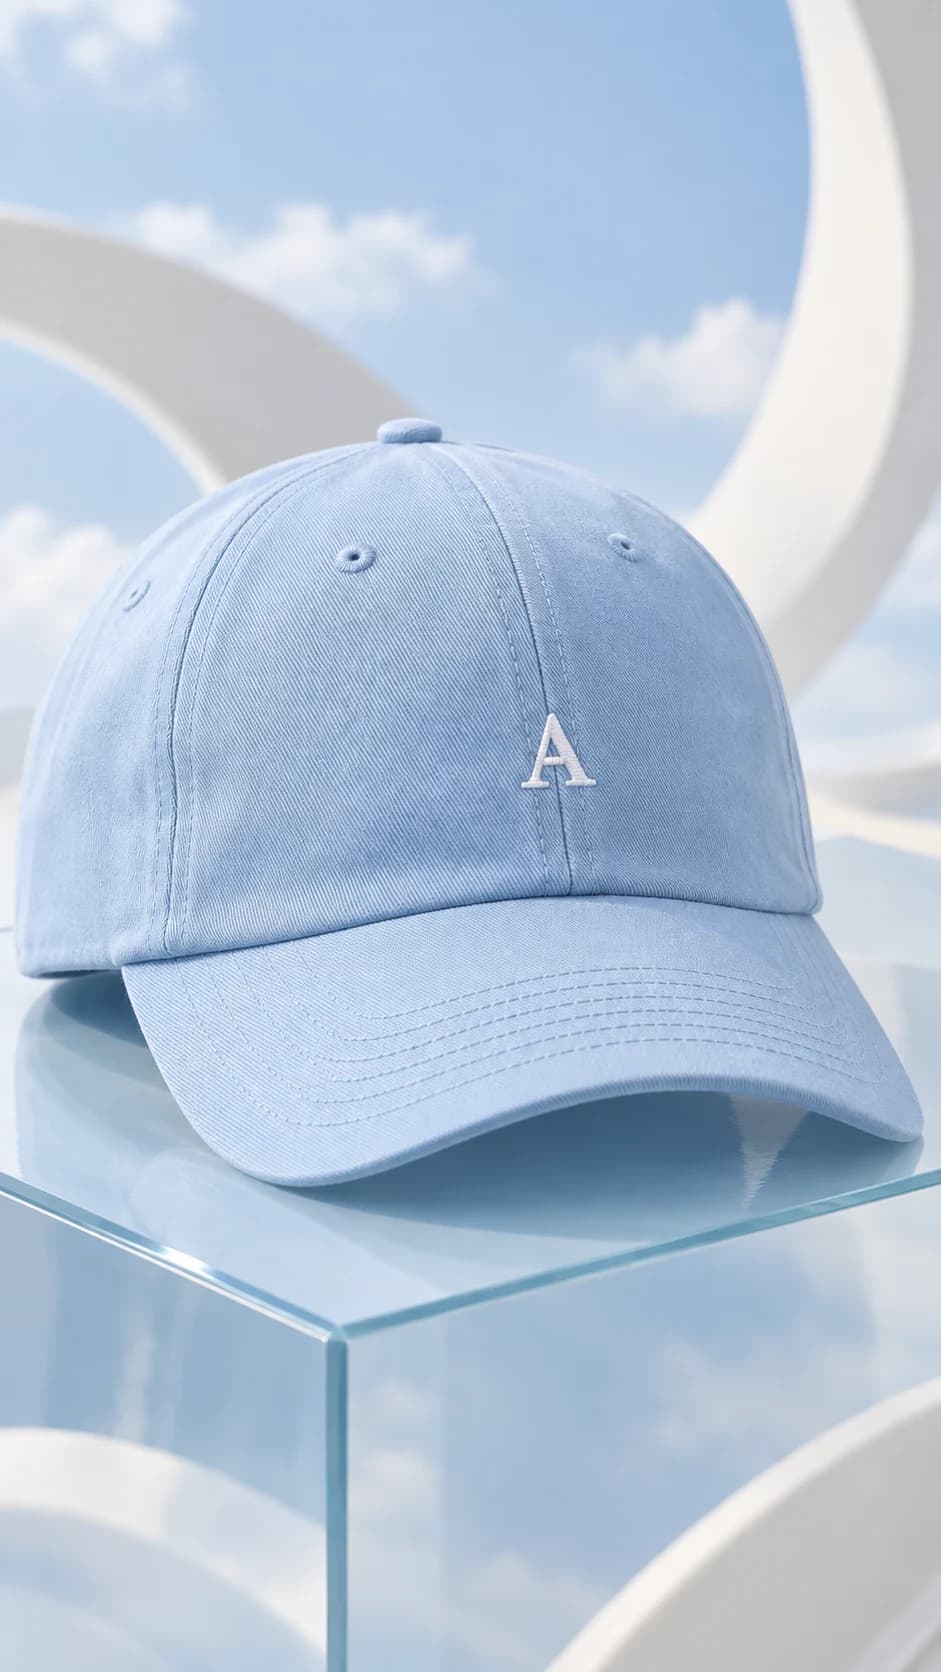
Crown height and silhouette. Complete brim and its curve. Band, trim and material texture.
Leave room around the defining shape
A hat's outline carries much of its identity. Crown height, brim width and the way the edge curves should remain recognizable when the scene changes. Choose a source with the complete hat inside the frame, then ask for the same breathing room in the result. A crop through the brim removes precisely the detail the image needs to explain.
Start with a product-led view rather than a person wearing the hat if the construction is difficult to see. A clear three-quarter angle can show the crown and brim together. Keep an original overhead or underside image available for details absent from that view.
Inspect the band and surface separately
Look at the hatband, ribbon, stitching and any small trim. Check where each element joins the crown and whether it has changed size or position. For woven materials, inspect the pattern at more than one point rather than accepting a general straw-like appearance. For felt, make sure lighting has not turned the surface into a different finish.
Keep logos and decorative marks tied to the original. A generated embellishment is still a product change, even if it improves the composition. Use quiet lighting for the first review so the material and construction remain easy to compare.
Add a wearing context after the product reads clearly
A model can add styling context, but hair, hands and the angle of the head may hide part of the brim. Review the contact between head and hat and compare the apparent crown shape with the source. The result does not establish sizing or how the hat will fit a particular customer.
Approve the simple sample first, then decide whether a second scene adds a useful campaign role. Keep original photography for measurements and construction. Across a collection, inspect each crown and brim independently, preserving the complete outline in thumbnails as well as the larger image.