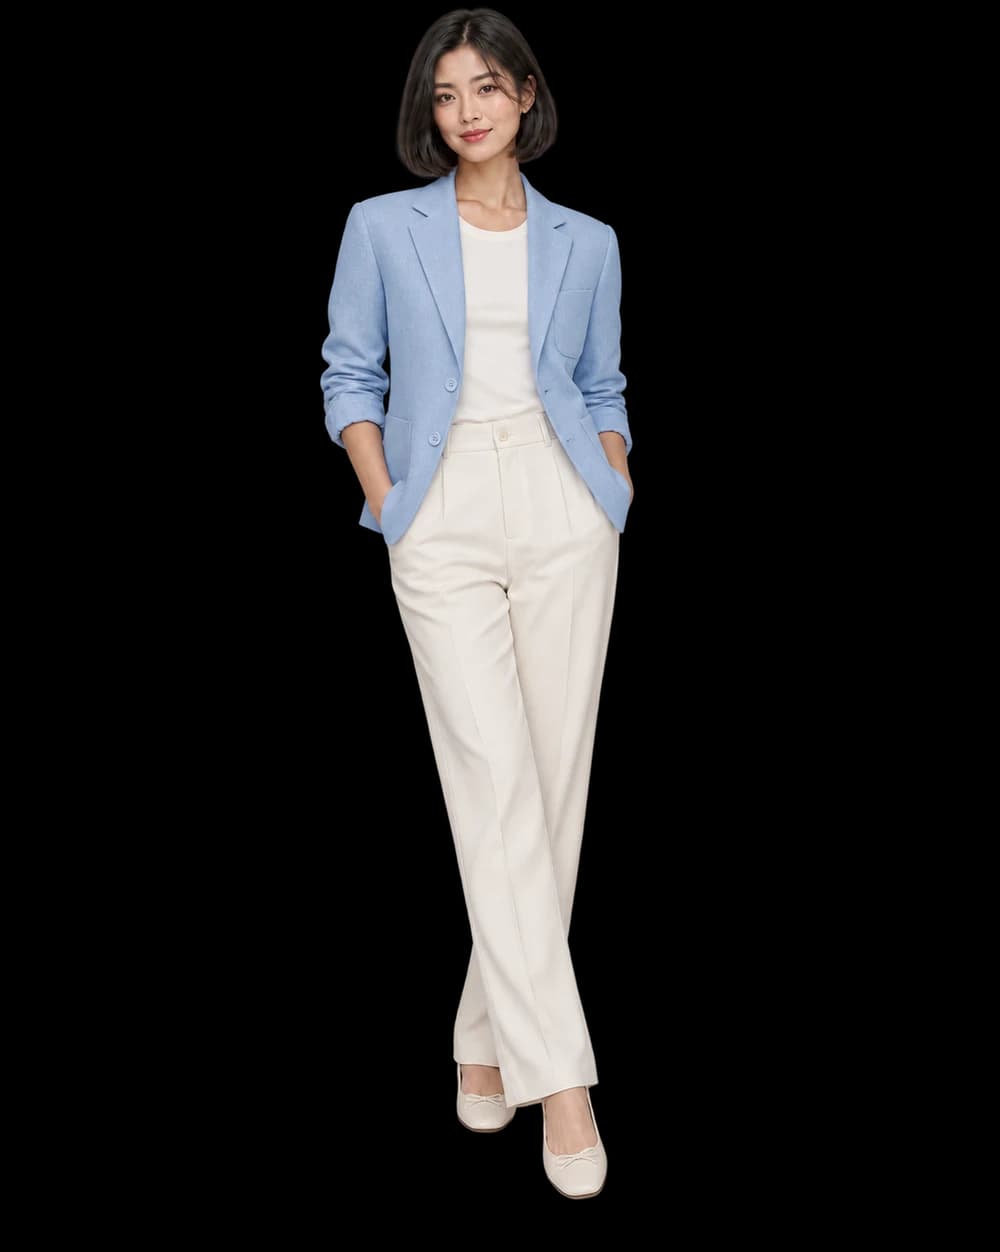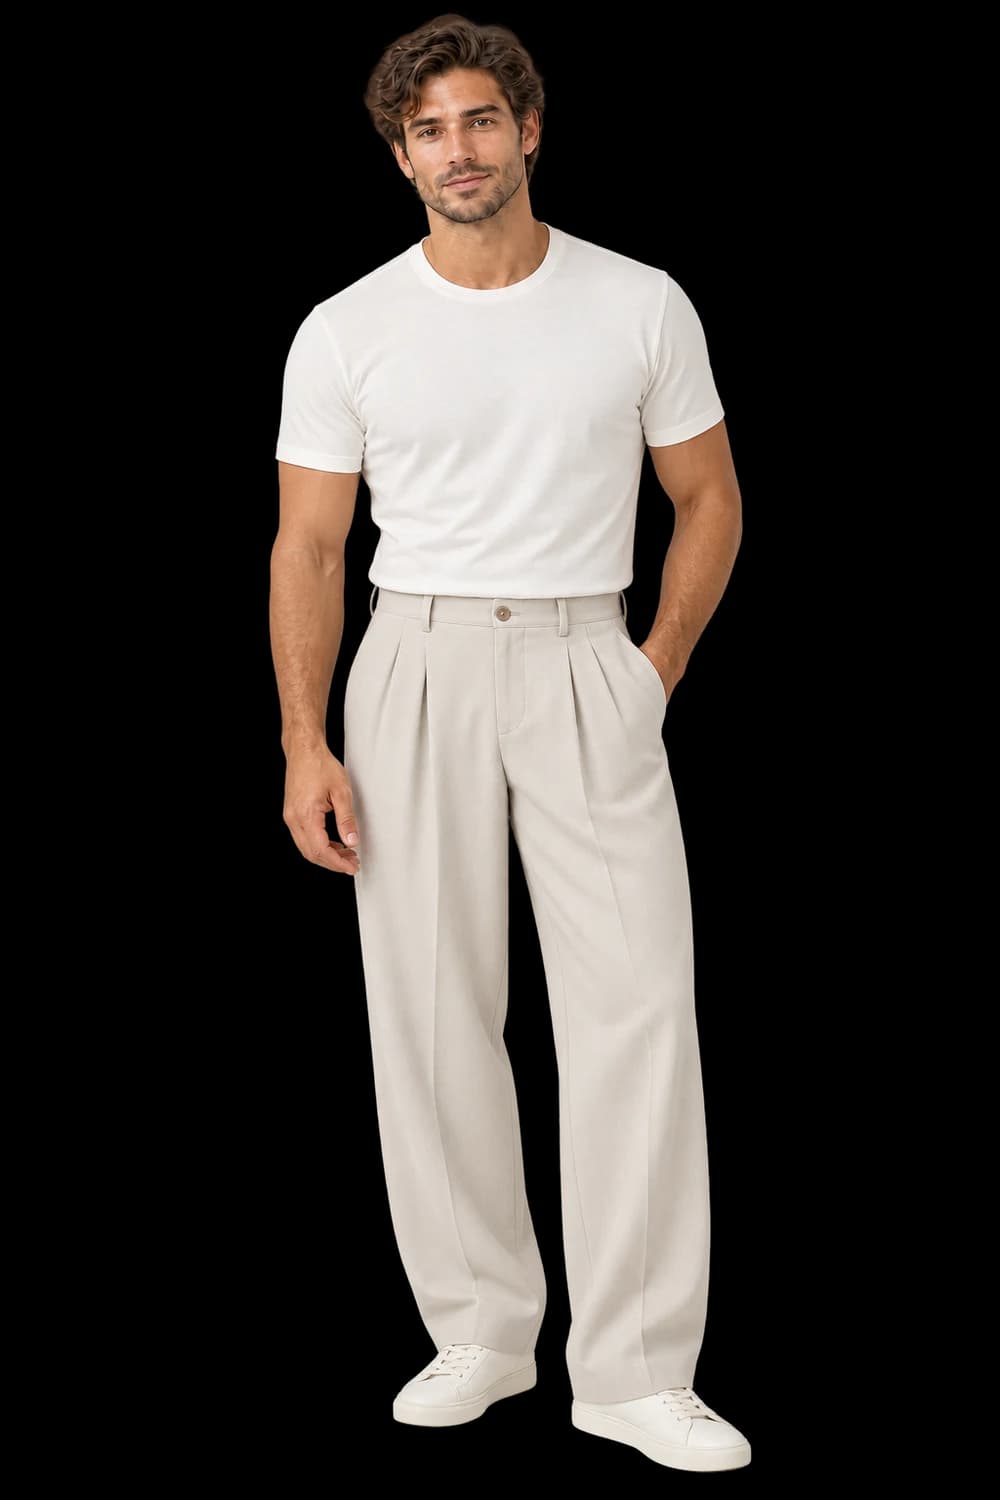
Waistband, rise and fastening. Leg width and seam direction. Hem length and both leg openings.
Begin with the complete line
Trousers are defined by relationships: waistband to rise, thigh to knee, and knee to hem. A source that cuts off the lower leg removes information the next image needs. Start with both hems and the waistband visible, and use a product view that makes the intended leg shape understandable without relying on styling.
Describe the actual cut rather than a broad mood. If the trousers are wide-leg, cropped or pleated, identify that feature and ask to preserve it. Keep exact measurements in your product information; a generated image should not become evidence for a new inseam or fit claim.
Use a pose that explains the garment
A simple standing view can be easier to evaluate than a stride with one leg behind the other. Crossing the legs changes the apparent width and can hide side seams. Begin with a readable stance, then consider whether a more expressive image has a useful place alongside it rather than replacing the clearest product view.
Check pockets, pleats, belt loops and the front fastening. Compare how the material falls without assuming a compelling fold is accurate. If the trousers have a crease, follow it down each leg. Make sure the crease has not become an extra seam or changed the perceived cut.
Leave room around the hems
Keep the complete garment in frame, including the break over a shoe when the image is on-model. A crop near the ankle can disguise a length change. Review both legs separately and check that footwear has not obscured the opening you need to show.
For a trouser collection, hold the image scale and camera height reasonably consistent so different cuts remain comparable. Inspect every sample against its own reference before approving the set. When length or construction remains uncertain, use the original product photograph for that information and keep the generated scene in a supporting editorial role.