From a product photo to an everyday icon.
Create bag imagery that keeps the silhouette, handle and hardware recognizable in a considered campaign setting.
Add your own product. Edit the starting direction. Review the quote before requesting one sample.
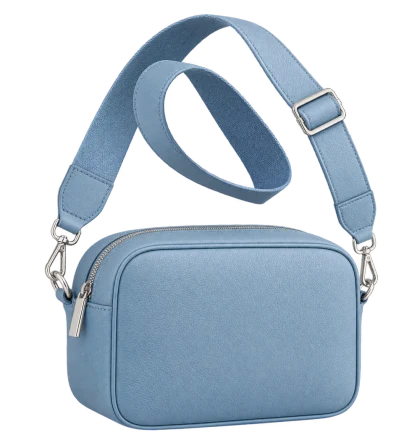
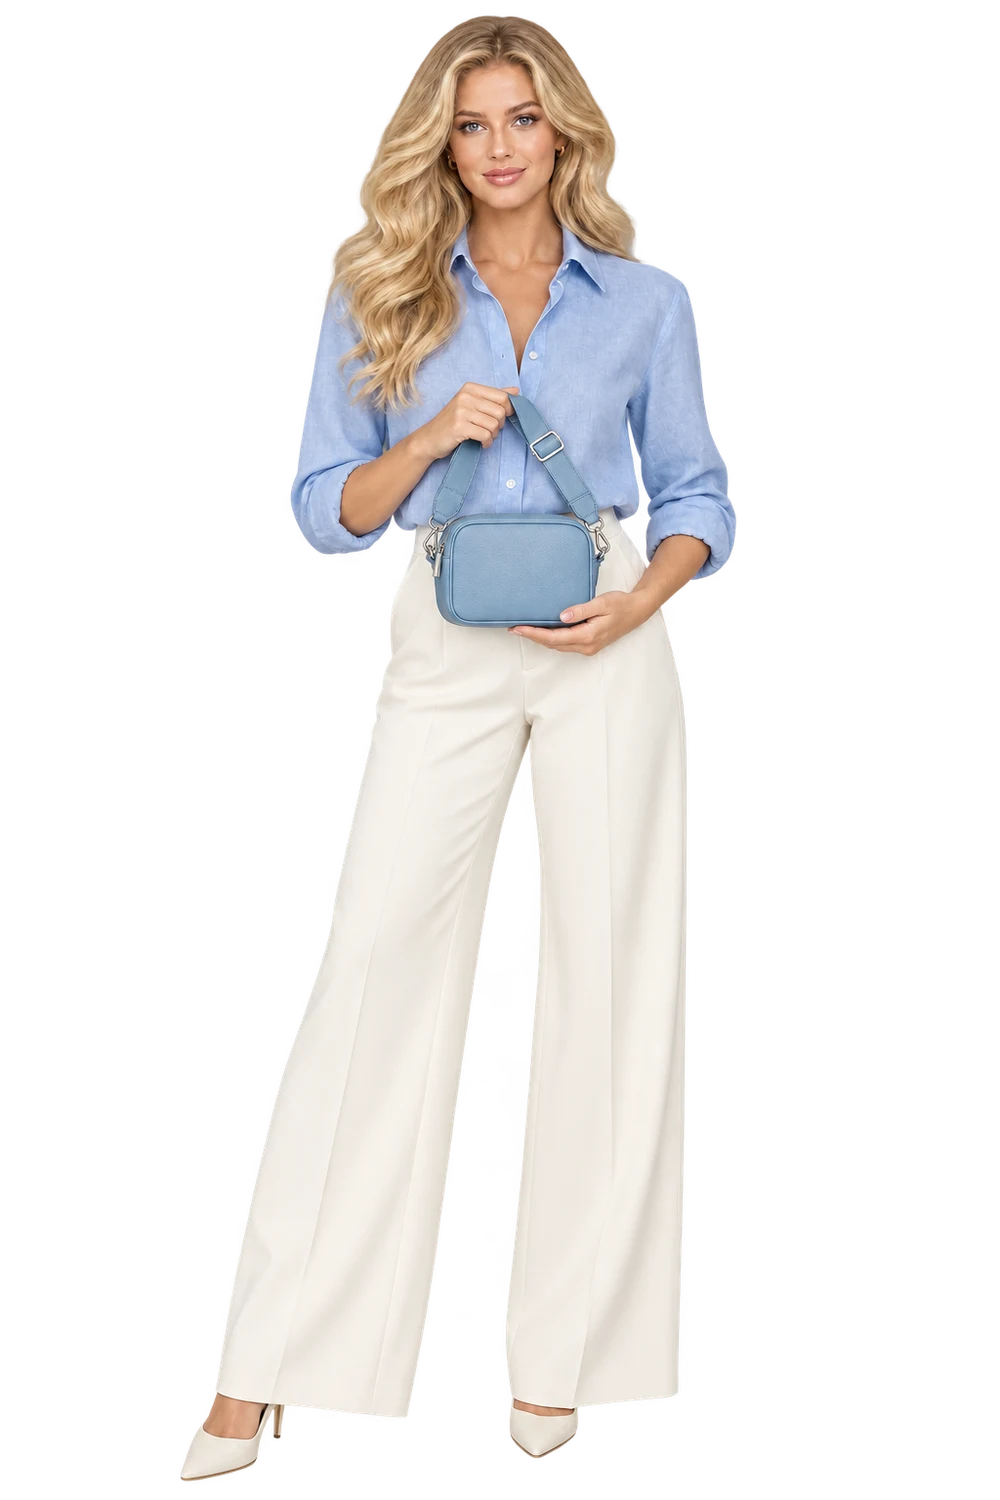
What to keep in the frame.
Use your original as the standard. These details deserve a separate pass before you approve the image.
- 01Silhouette and base proportions
- 02Handle, strap and attachment points
- 03Hardware, stitching and closure
The better starting point.
Choose a source where the handles and base are visible. Keep the bag supported naturally so the input describes the actual shape rather than a collapsed fold.
Have a public shop? Import your product ↗Place the supplied bag upright on a pale plaster plinth, photographed at a front three-quarter angle. Keep the full bag and handle in frame. Preserve its proportions, stitching, strap attachments, clasp and hardware with soft side light. Review priorities: Silhouette and base proportions; Handle, strap and attachment points; Hardware, stitching and closure.Open this direction ↗
The silhouette is often the first thing a shopper recognizes in a bag. Use an input that explains the body, base, handle and strap together. A lifestyle source can be useful, but not if a coat or arm hides the outline. Begin with a product-led view when you need a clear standard for the next image.
Use authorized creator references in the real builder and review the generated person independently of the bag. An illustrative campaign example is not proof of identity or product fidelity. Keep accepted assets in your library and extend the direction only after the source-to-result comparison supports the intended use.