Silhouette and base proportions. Handle, strap and attachment points. Hardware, stitching and closure.
Start with a readable silhouette
The silhouette is often the first thing a shopper recognizes in a bag. Use an input that explains the body, base, handle and strap together. A lifestyle source can be useful, but not if a coat or arm hides the outline. Begin with a product-led view when you need a clear standard for the next image.
Decide whether the campaign should emphasize the product alone or its relationship to a person. A plinth shot can make hardware easy to inspect; a creator-style image can suggest scale and styling. Neither replaces actual measurements or establishes carrying capacity.
Follow every strap to its connection
Handles and straps deserve a slow review. Follow each from one attachment point to the other, looking for an impossible overlap or a connection that has moved. Inspect buckles, rings, clasps and the opening. A convincing leather texture can distract from a changed fastening.
Compare stitching and panel boundaries against the original. Strong light may make the bag seem glossier or change the appearance of its color. Keep an original image available for material and color reference when the campaign setting is deliberately atmospheric.
When a person holds it, inspect the contact
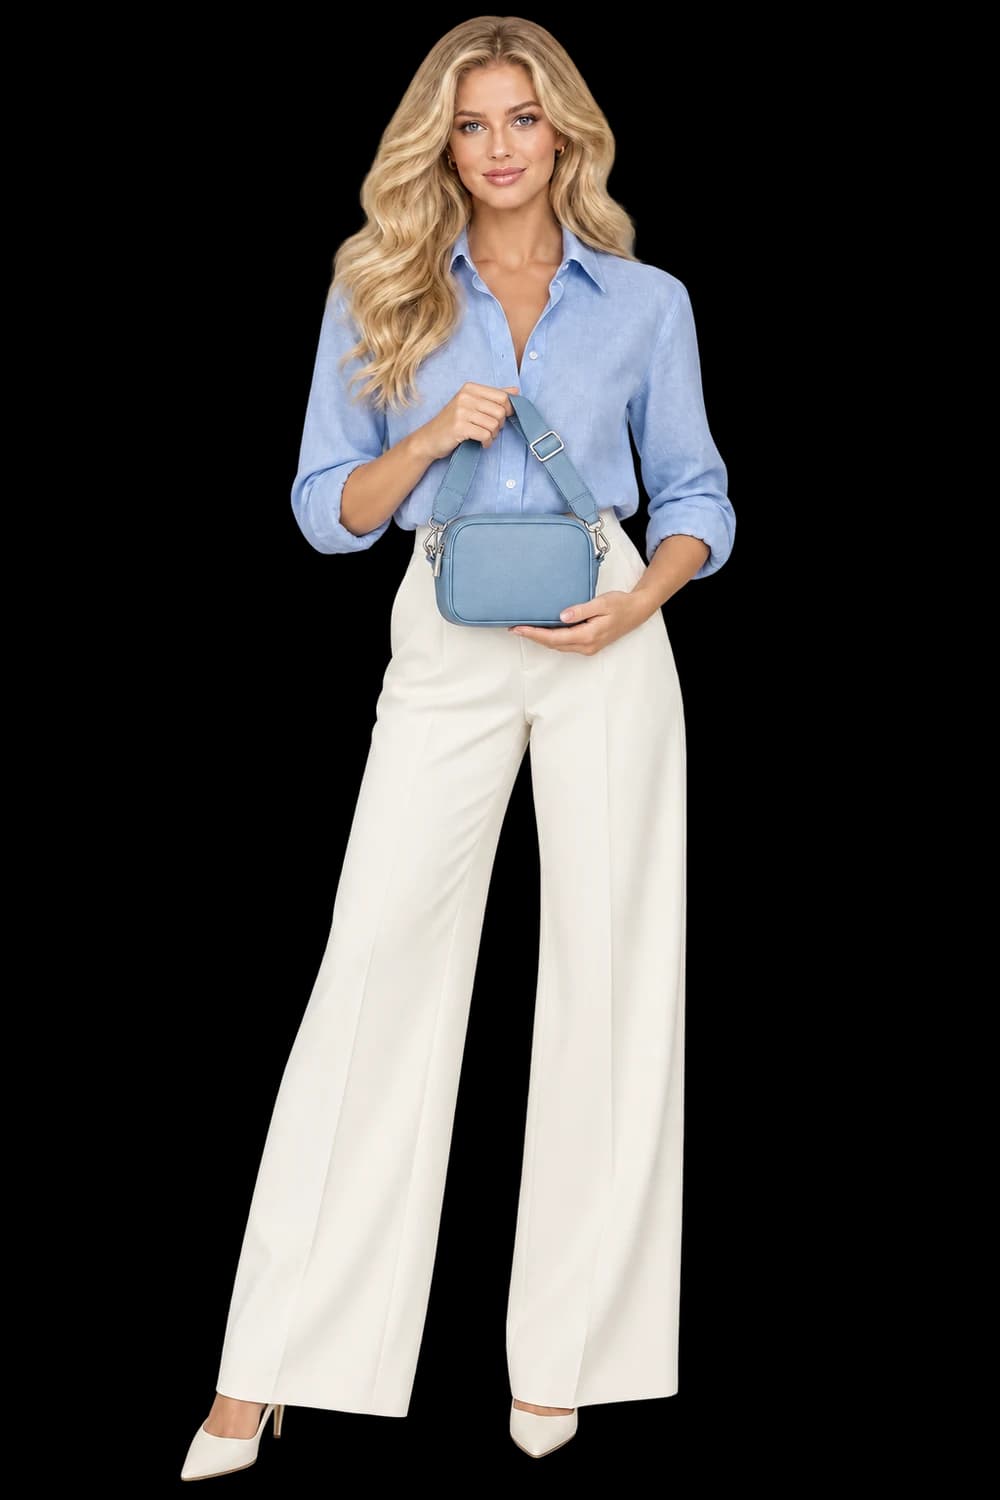
A hand-held composition adds another set of relationships to check. Look at finger placement, whether the hand passes through the strap, and how the bag hangs under its apparent weight. Ask for a simpler hold if an expressive pose keeps hiding the closure or obscuring the silhouette.
Use authorized creator references in the real builder and review the generated person independently of the bag. An illustrative campaign example is not proof of identity or product fidelity. Keep accepted assets in your library and extend the direction only after the source-to-result comparison supports the intended use.